Grails Plugin for SmartGWT
We are pleased to announce a preview version of our plugin for Grails developers.
Grails includes an ORM layer (GORM) built on top of Hibernate and the principal feature of this plugin is to provide a seamless integration with it. The plugin also assists with creating UI elements and providing SmartClient-enhanced scaffolding.
This articles serves as a starting point for developers looking to begin using this integration. It assumes familiarity with Grails, SmartClient & the Grails GWT integration. This release is a preview so it hasn’t undergone the normal QA process that our normal releases include, at this point we’re looking for developer feedback.
Plugin features
- Automated SmartClient deployment
- SmartClient DataSource generation from Grails Domain Classes
- Groovy DSL to generate/manipulate custom Component Schema
- Automatic mapping of Grails domain class validators to SmartClient validators
- Full CRUD support including AdvancedCriteria queries, paging and sorting (through an included Custom Server DataSource)
- Grails Tag Libraries to assist with the loading of DataSource and UI components
- SmartGWT based scaffold generation.
Pre-requisites (for sample application)
- A working Grails installation (1.3.6 or above)
- Grails SmartGWT plugin (current beta version is 0.4 available here)
- SmartGWT-Enterprise downloaded and extracted (evaluation builds available here)
- MySQL (required for this sample only, any GORM-supported database will work with the SmartGWT plugin)
Getting Started
We’re going to use Grails on Sakila for the basis of a sample app. The MySQL Sakila sample database (included) contains a lot of seed-data that will allow us to explore the features of this plugin. I’ve updated the app to use Grails 1.3.6, removed the authentication filter and replaced the index.gsp to show a list of Controllers.
The sample app, database schema and sample data can be downloaded here. The following steps are required to get the app running:
- Create the database schema (from sakila-schema.sql)
- Load the seed data (sakila-data.sql)
- Open grails-app/conf/DataSource.groovy and update the database url, username and password to suit your environment
Run the application (‘grails run-app’ from the ‘grails-on-sakila’ directory) and browse to the URL (by default http://localhost:8080/grails-on-sakila/), you should see:
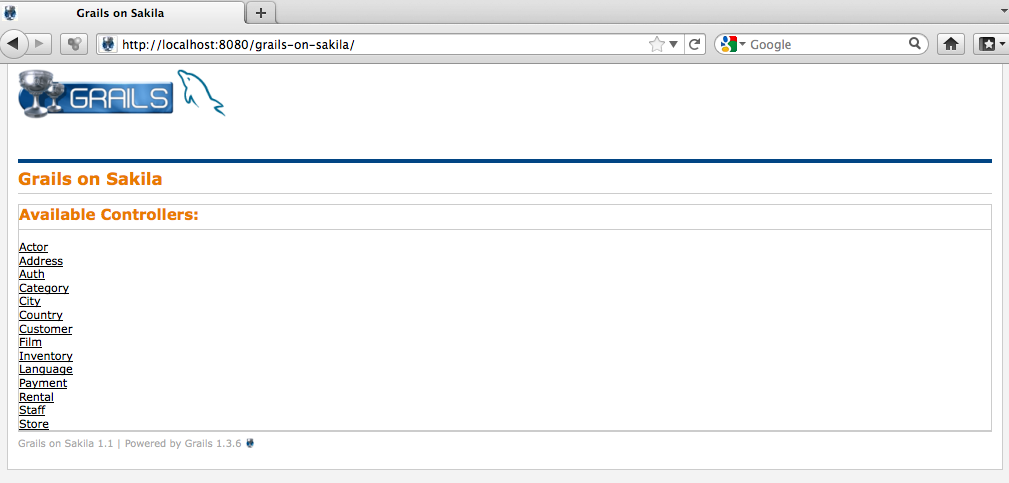
You can click on some of the implemented controller views (e.g. Actor) and you should get:
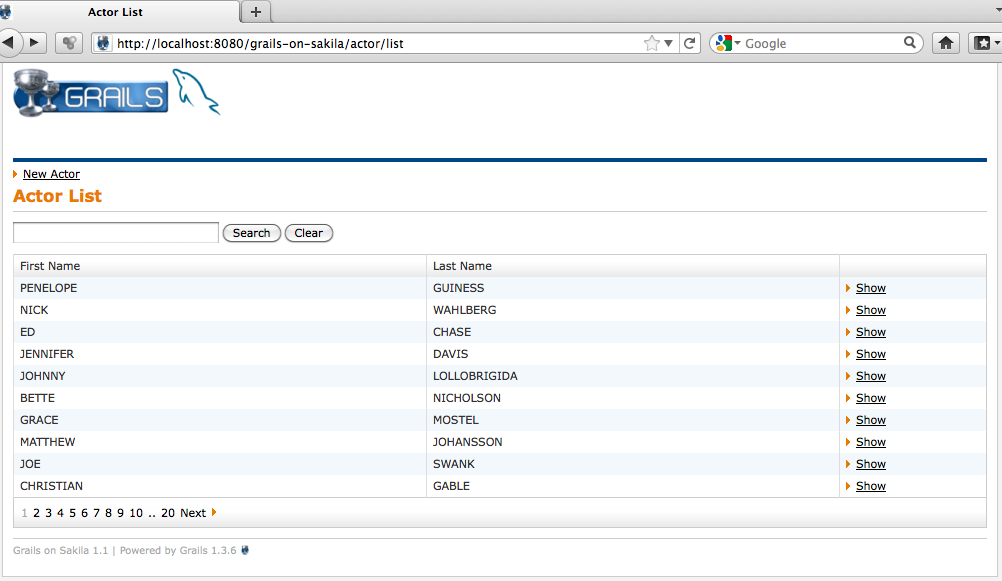
At this point we have a standard Grails application with some sample data.
Installing the SmartGWT plugin
We’re now going to add the Grails GWT plugin and the SmartGWT plugin:
- grails install-plugin gwt
- grails install-plugin <PATH_TO_SMARTGWT_PLUGIN>/grails-smartgwt-server-0.4.zip
- You will be prompted to provide the path to SmartGWT-Enterprise directory (download and extract an evaluation build from here)
Beginning with SmartGWT and SmartGWT Scaffolding
Open the Actor, Category, Film and Language domain class files and add ‘static smartclient’ inside the class definition. The plugin will now automatically implement the IToJSON interface to allow the SmartClient server to serialize domain class instances.
Now we’re ready to generate the SmartClient DataSource definitions and scaffolding:
- grails generate-data-source
- This script will generate SmartClient DataSources for all the domain classes that we’ve exposed so far to SmartClient
- The generated DataSource files can be found in grails-on-sakila/smartclient/ds.
- grails generate-scaffolding scaffold.gsp com.example.smartgwt.Scaffolding
- This script will generate a GWT Host Page (named scaffold.gsp), a GWT Module (com.example.smartgwt.Scaffolding) and SmartClient Component Schema for List Grids, Dynamic Forms and Detail Viewers.
- The generated UI files can be found in grails-on-sakila/smartclient/ui
Finally we need to compile the GWT module and run the app:
- grails compile-gwt-module
- grails run-app
- Browse to the scaffold gsp file (e.g. http://localhost:8080/grails-on-sakila/scaffold.gsp)
You should be presented with a list of Domain classes that can be clicked and will appear in a ListGrid in the middle view:
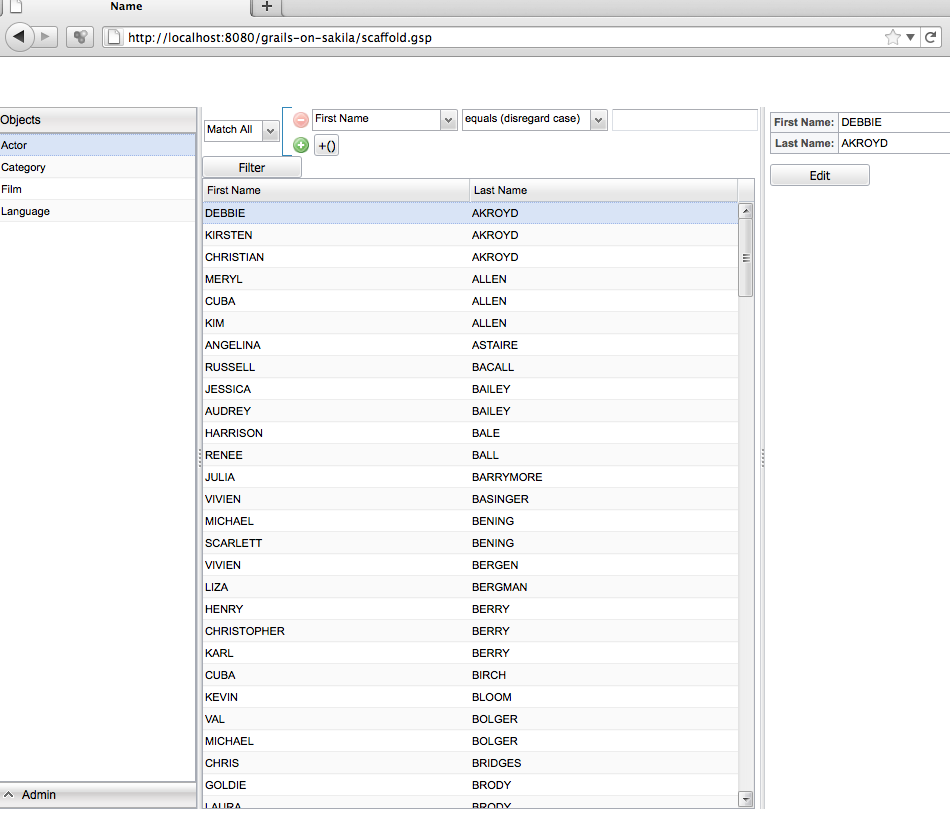 The scaffolding feature supports testing queries using the Filter Builder, paging, sorting, and editing records.
Next steps
In a future post we’ll look at how to customise the scaffolding to better handle associations, provide formatting, as well as how to create stand-alone (non-scaffolded) SmartGWT pages and modules.